
MineModeller Connect Profile Tool
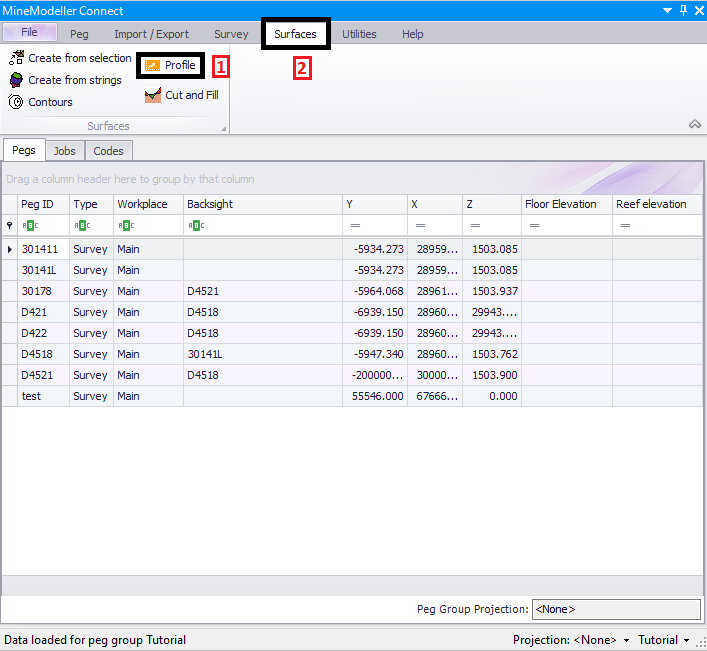
❖The Profile(1) tool can be found in the Surfaces(2) tab of MineModeller Connect:
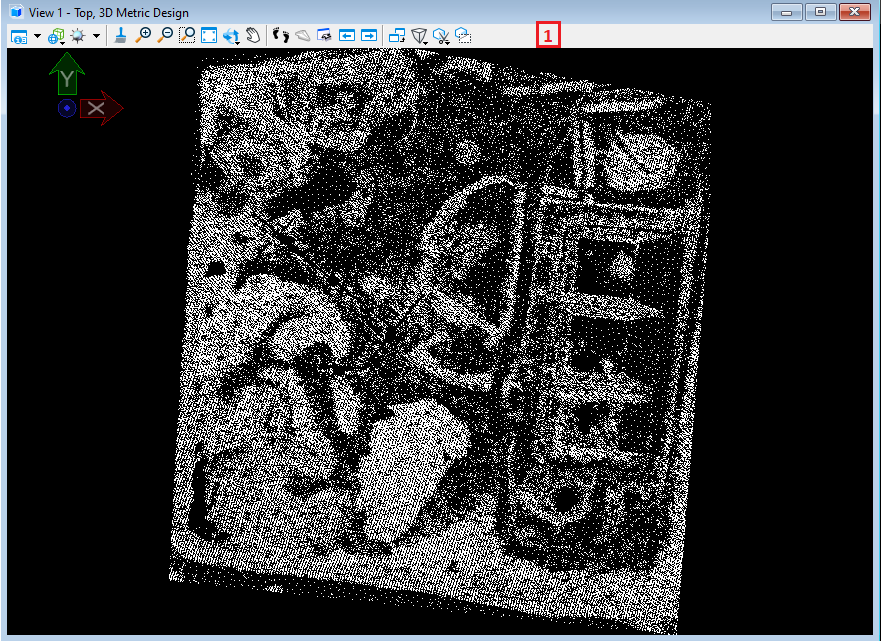
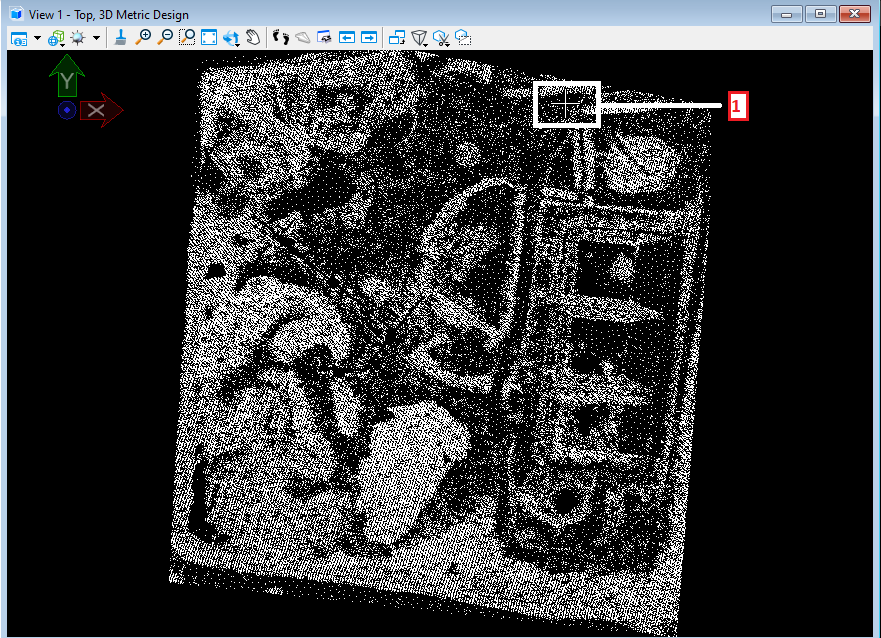
❖This tool is used to create a graphic representation of the outline of a surface. It only works with surfaces however it can be used on a set of points representing a surface and it will triangulate the points for you in the background into a surface so as to make the profile. In this example I will be using a set of points which represent an area of stockpiles at a mine(1):
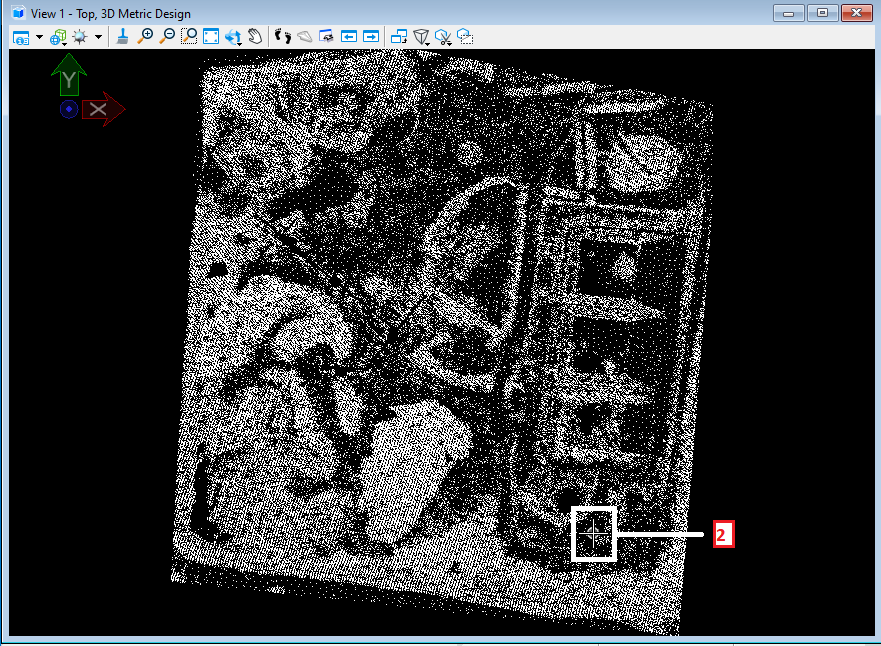
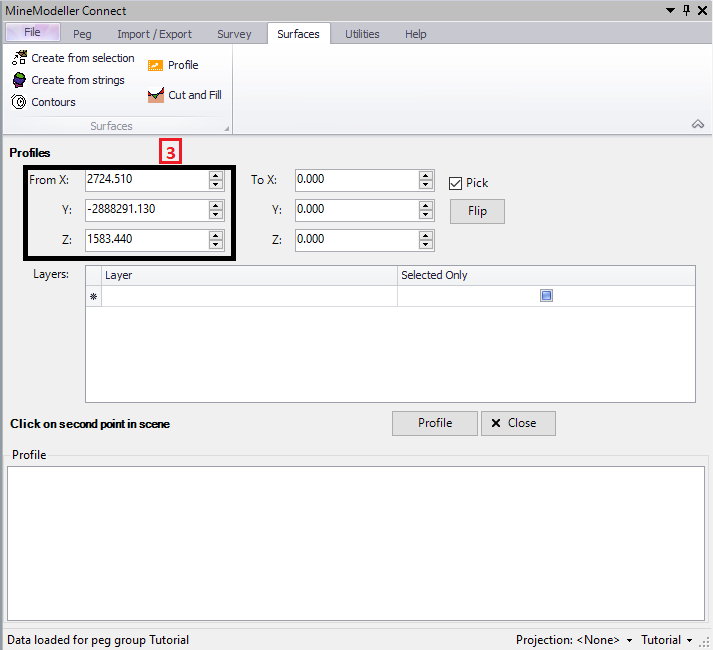
❖Clicking on the tool brings up the Profiles dialogue, start by ticking on the Pick box(1) and then choose the beginning point of your profile line by clicking in the scene on your surface and then clicking once more to confirm the point(2). The coordinates of this point will populate in the From X,Y,Z area(3):
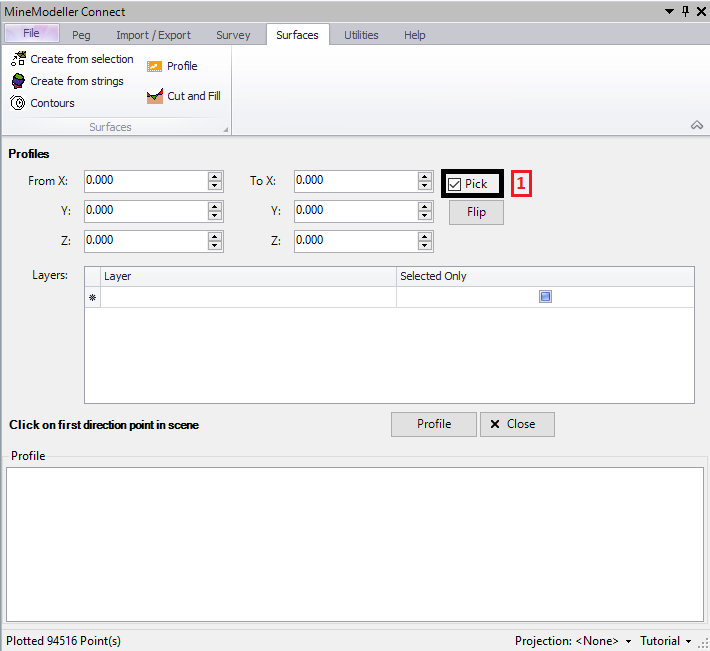
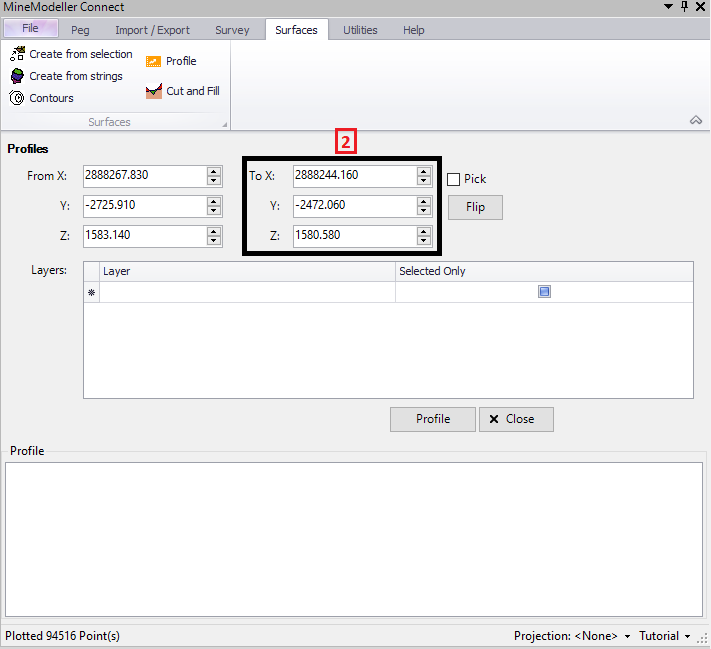
❖Then select the end point of the profile line by doing the same clicking procedure(1). The coordinates then populate in the To X,Y,Z area(2):
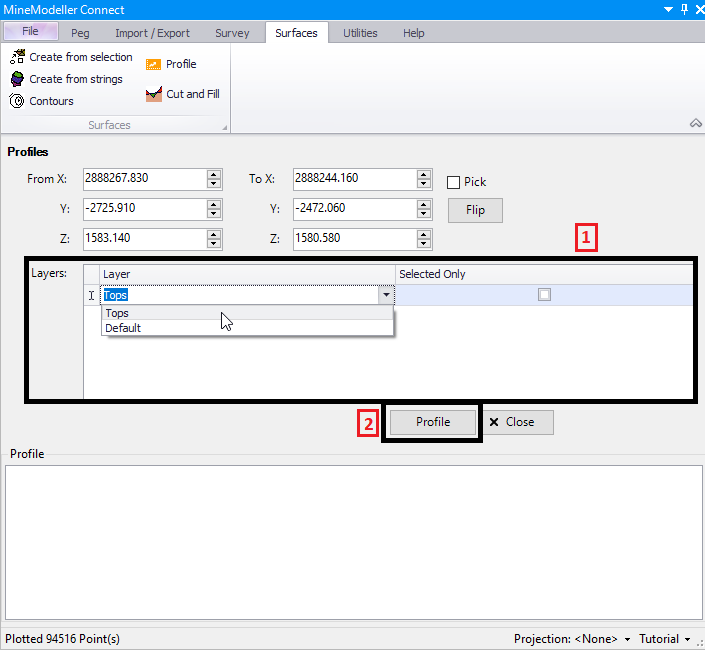
❖In the Layers area(1) below choose which layer/s you are doing this on. Selected Only can be ticked on if you want the profile to be drawn over selected elements only. When done click Profile(2):
Your Profile has been created below(1):
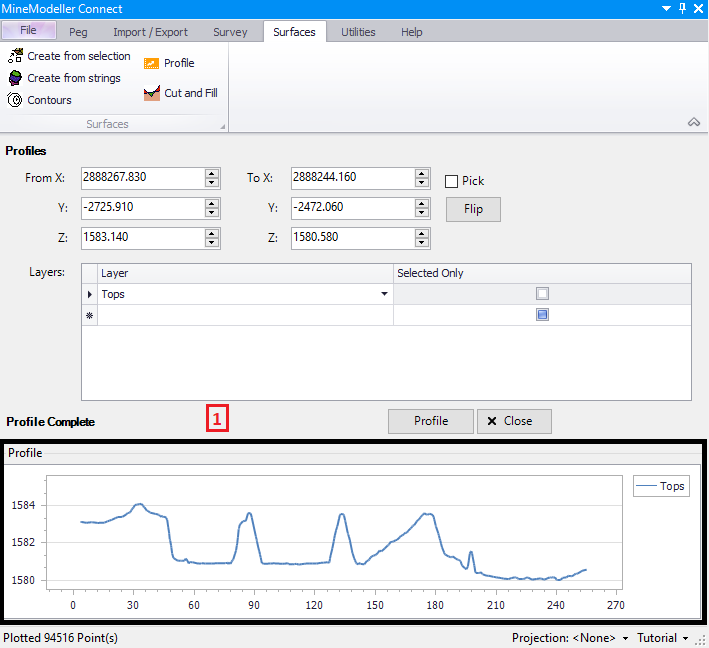
On the Y axis of the graph are the height values in meters of your profile line and on the X axis are the distances in meters at each point along the line. By hovering over the profile at any point you can see these values precisely:

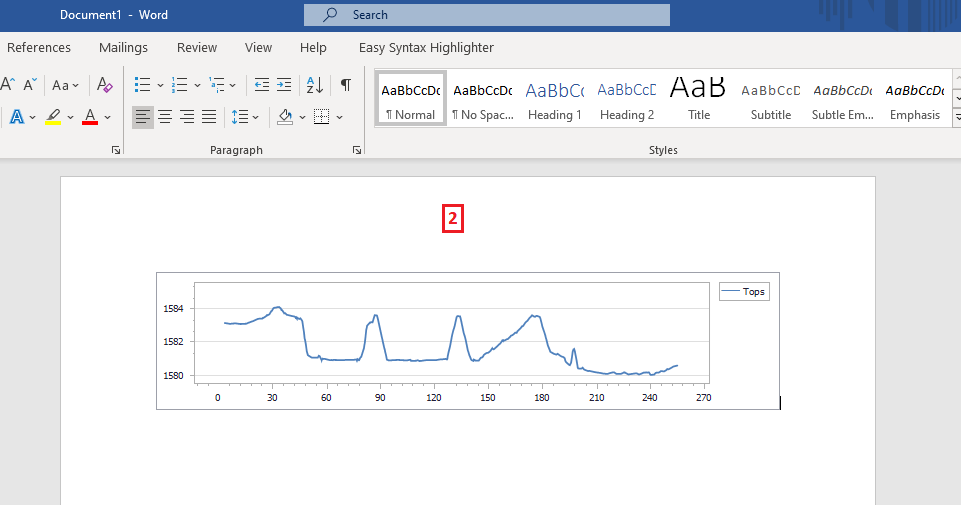
❖What you can do also is right click on the profile and Copy(1). You can then paste the profile somewhere else like in a Word document for example(2):

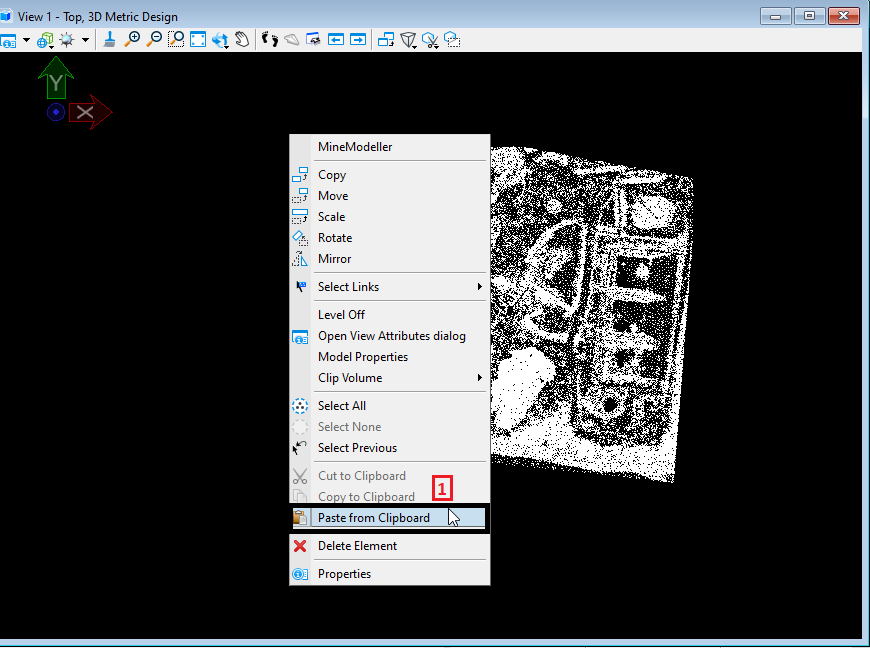
This profile can also be pasted into the MicroStation scene itself. To do so hold down right click in the scene until the context menu comes up where you can choose to Paste from Clipboard(1):
Support
|
||||||
|
T: +27871354351
|
|||||
