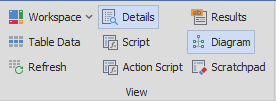
❖In the View tab is where you can select what windows to show and other things concerning your view.
❖You can create workspaces by dropping down on the Workspace button; a workspace is a specific layout of windows in the product:
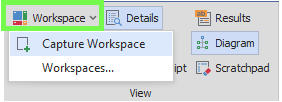
First set up your layout as you want:
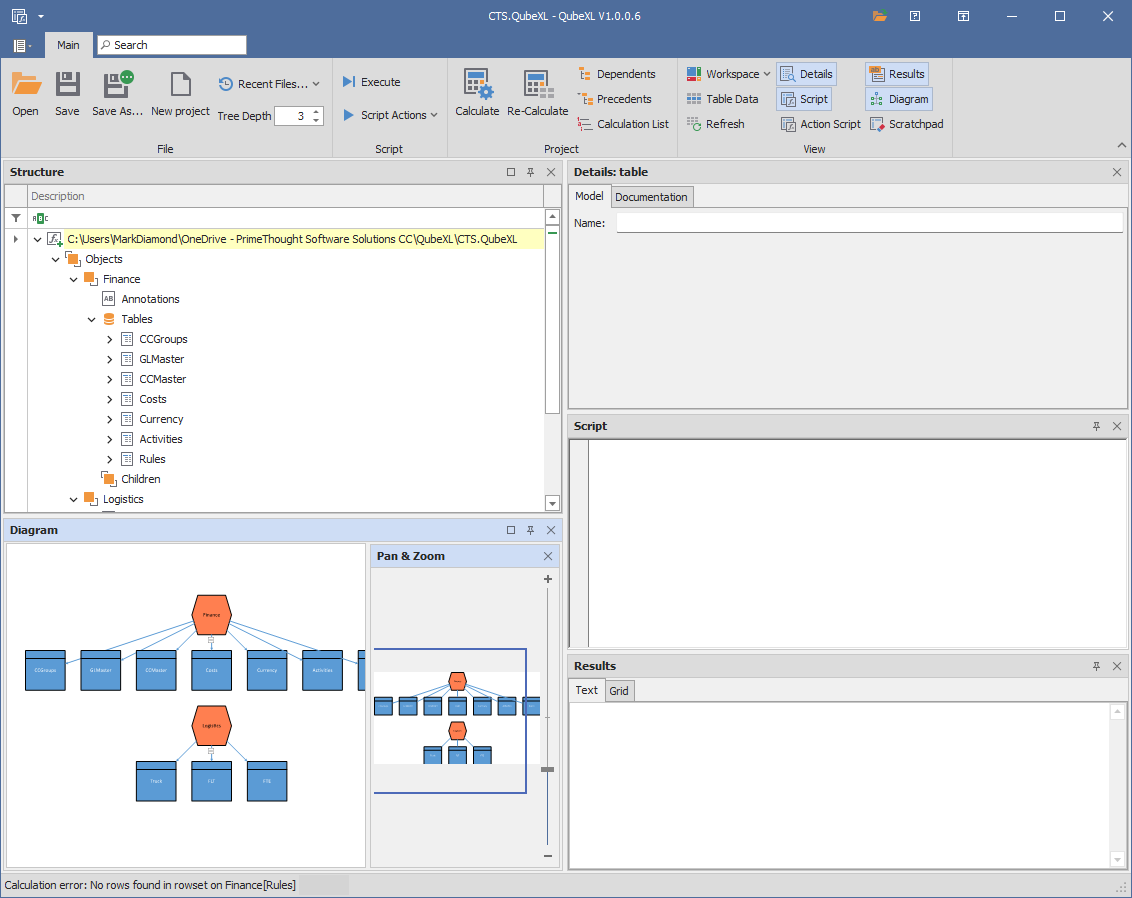
Then click Capture Workspace:
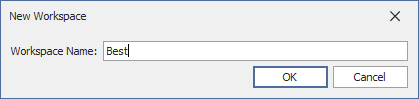
Then give it a name and click OK:
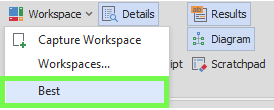
Your workspace then appears in the dropdown list and as you create more workspaces you can switch between them here:
❖Clicking on the Workspaces button in the dropdown will bring up a dialogue where you can manage your workspaces:
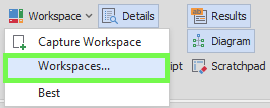
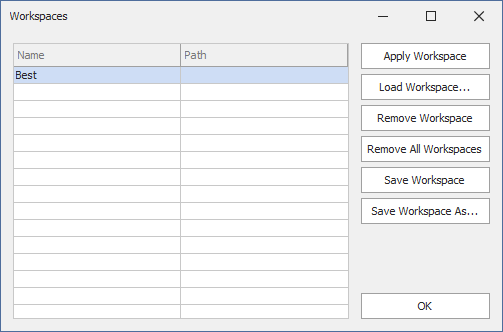
Here you can see the list of your workspaces and choose to apply a workspace, load a workspace from a file, remove workspaces and save workspaces as external files as well.
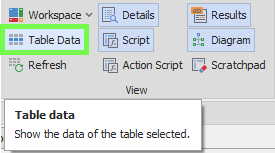
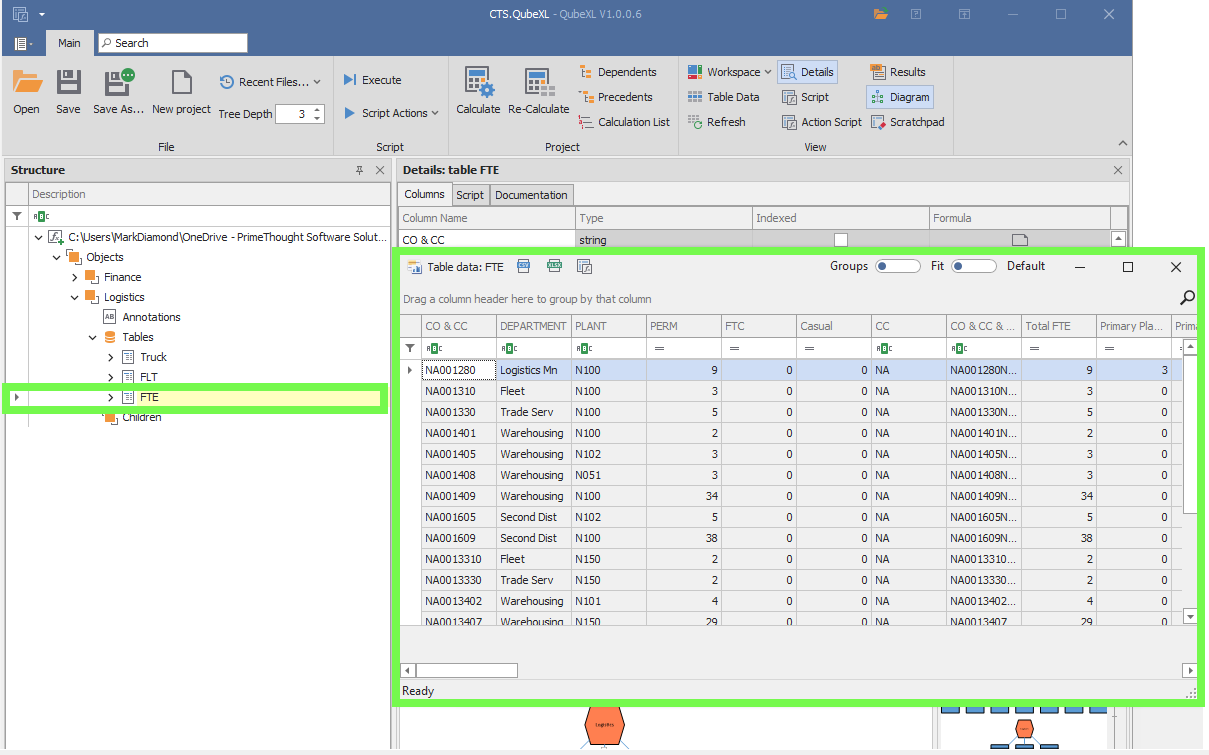
❖The Table Data button will bring up the table data grid for the selected table in the Tree Structure:
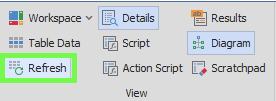
❖The Refresh button can be used to refresh the Tree Structure view if the Model has changed but the changes are not visible in the display:
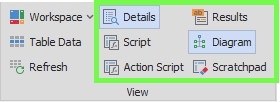
❖Then, the rest of the options are windows you can turn on and off by clicking on them, when they are greyed it means they are showing; the different windows are covered in the Windows section:
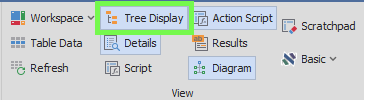
❖Further, you can choose to have the Tree List display or not as well:
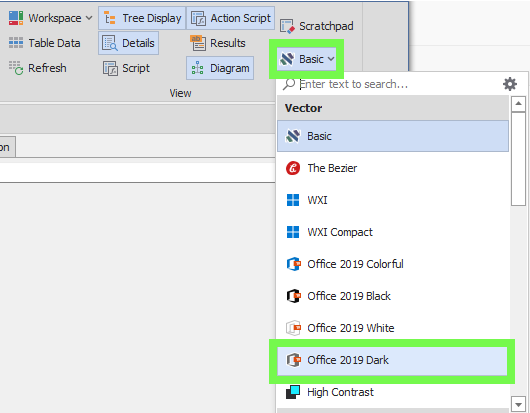
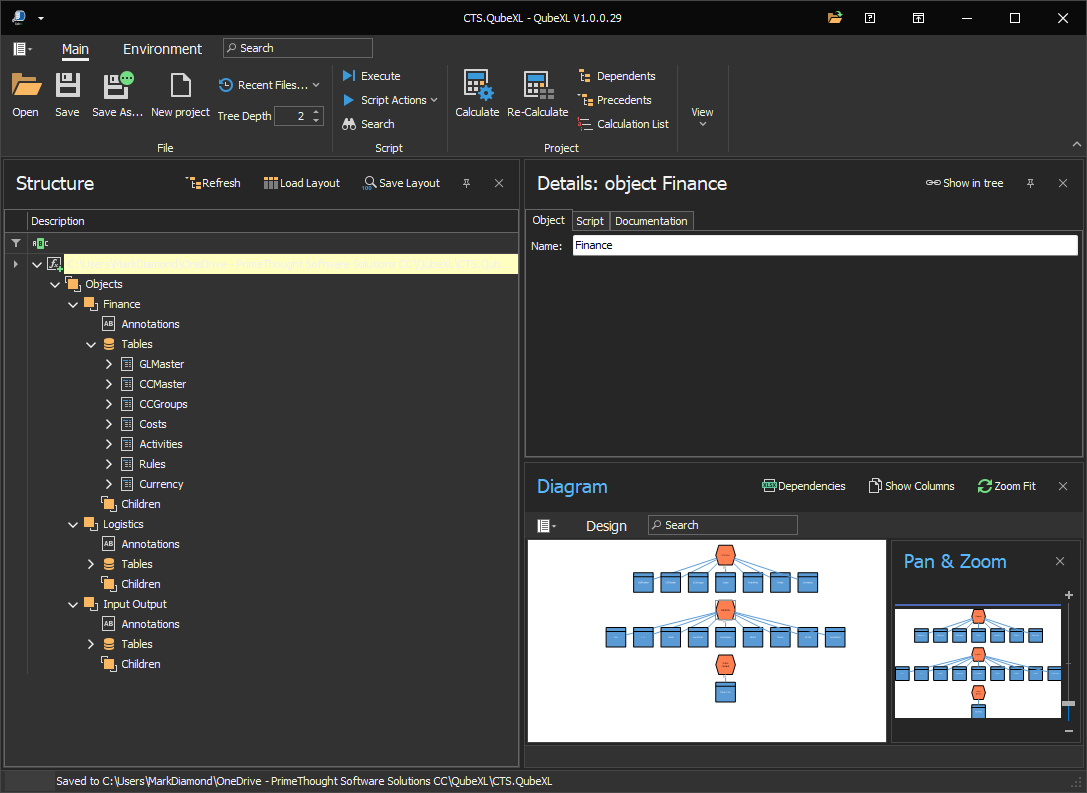
❖You can also choose different skins to use for the product for example I could change to a darker one here: